Painting has served us as a form of communication since time immemorial. We have already seen the immortal cave paintings and a plethora of rich arts hung proudly on the walls of museums. Art is a staple in our society. Today, it becomes more important than ever, since art is another way to express ourselves. It is customary to give children some watercolors to develop their creativity from an early age. This develops their mind and offers a deep insight into their adulthood.
However, what is not taken into account is that oil painting is a much more difficult technique than the others. It requires a gradation of color that you do not have mastered from the beginning. To adapt your delicate hand and creativity in oil painting, all you need is a keen desire to express something and the basic technique in which to work. Inspiration will surely follow. If you don't know how to start painting an oil painting, keep reading this article. We are going to give you the most important steps.
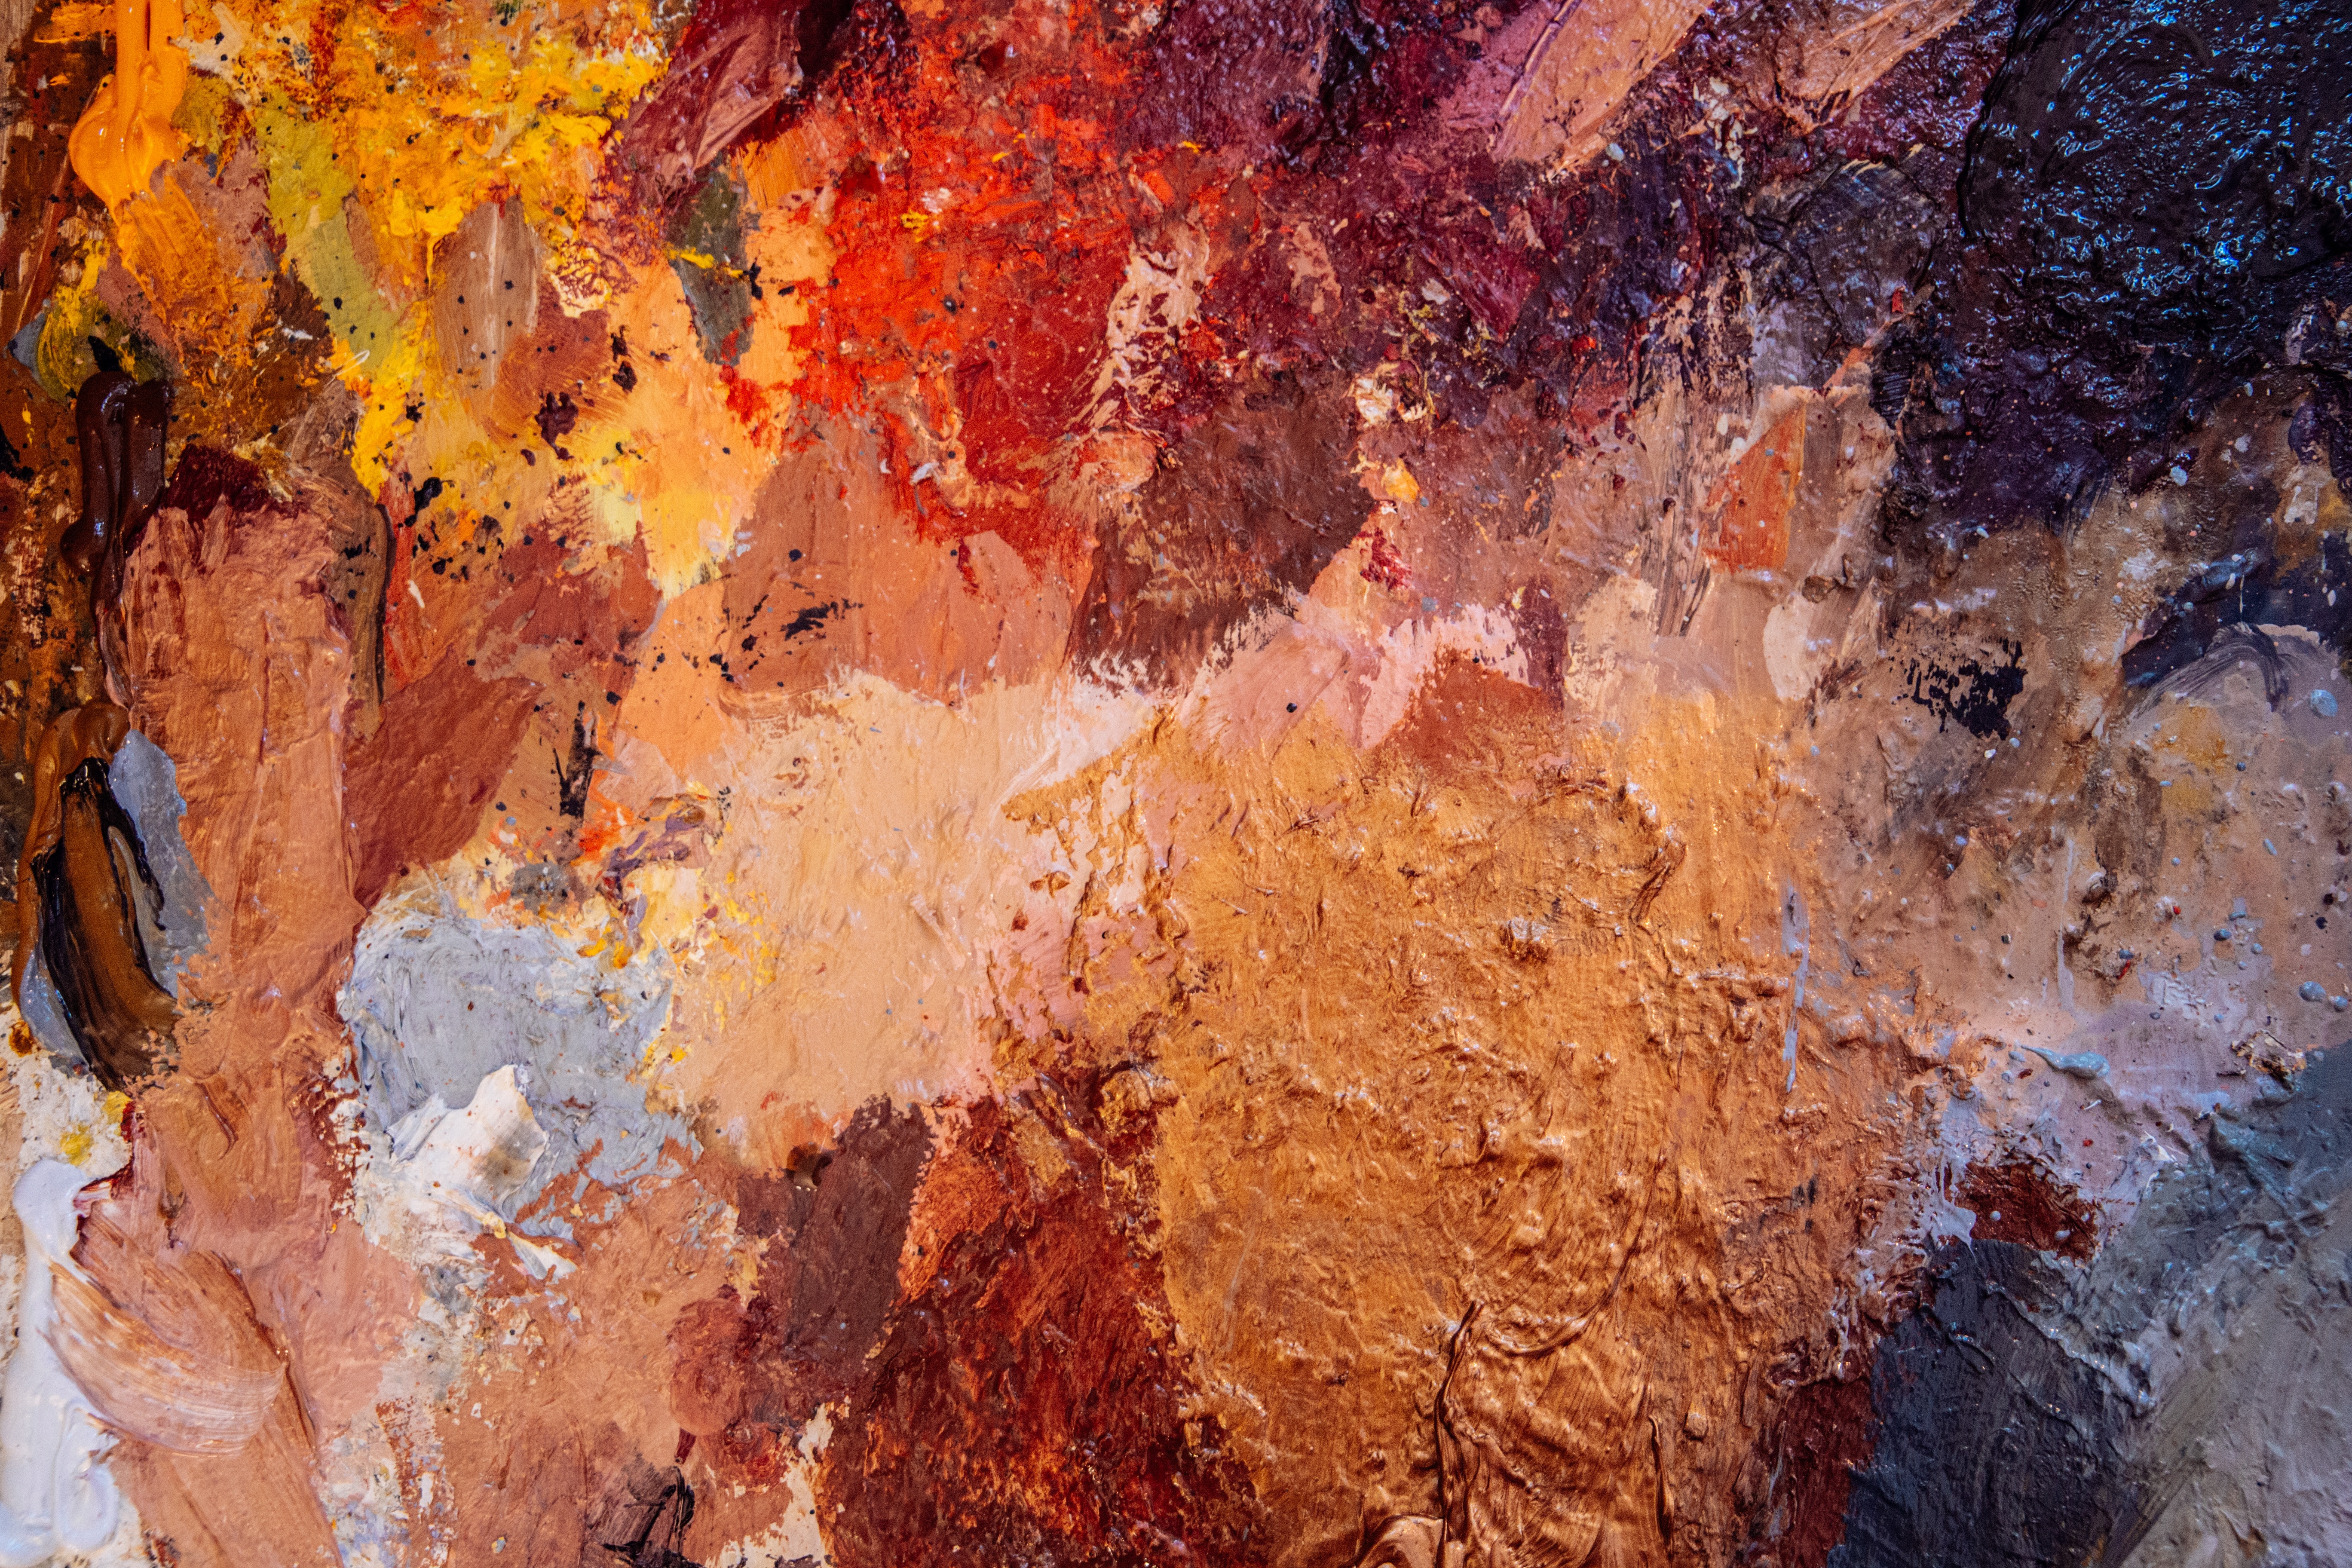
What is oil?
Unlike watercolors, oil paint is a very thick paint that sticks to the canvas easily. This is a perfect technique for getting started with painting as it allows you to cover mistakes with more paint or scrape them off with the palette to remove the paint so you can reapply it once it has dried. In addition, colors can be mixed on the palette instead of on the canvas, which will avoid many planning errors. Oil painting allows many tricks. Among the most prominent are:
Color blocking: outline the contours with slightly more diluted paint. Thus, the lines of an oil painting are much more defined than if we used another technique.
Create a sensation of volume, using different shades of the same color previously mixed.
Use a small brush for smearing and stippling (pointillism). Due to its density, the oil paint will remain fixed in the place where you put it, and will not move from there.
What do you need to paint in oil?
Next, we list the elements you need when painting an oil painting:
A canvas to paint on, be it fabric, wood, or a plaster wall. Oil paint has the advantage that it can be used on many surfaces. In fact, at first, it was used to paint murals.
Brushes: You must have two, although you can have as many as you want. Yes or yes, both should be thin and hard-haired, but one shorter (to mark the brushstrokes) and the other longer (for larger areas). On the other hand, if you wish, you can get small brushes for much larger and wider areas.
A palette for painting, where you can place the colors and mix them accordingly.
You can get the primary colors to start trying mixes and, when you have gained some mastery, move on to the other colors.
Turpentine to thin the paint.


An initial guide to painting an oil painting
These are the steps you must follow to paint an oil painting:
Sketch: it is the first thing you have to do before starting to paint a painting. Sketches are usually made with a charcoal or graphite pencil, as they leave a visible but subtle mark, which will serve as a guide for the final drawing. When you start painting, you will have to go over the sketch with diluted paint so that it is still visible, or you can fix it with lacquer.
Imprimatura: it is about making the background of the painting stop being white, applying a first layer of soft color very diluted in turpentine. This is done because it is a bit difficult to paint on white backgrounds. Therefore, it is recommended that you do the primer with light yellow, sepia, sand, or even acrylic colors.
Monochromatic first layer: don't worry about everything being perfect because in this first layer we will focus on defining the shapes roughly, mainly creating the light and dark areas. If we also apply grayish tones we will give it a lighter hue, although this step (called grisaille) is completely optional. What you will have to do, is apply the first monochrome layer, since it will serve as a painting plane and as a guide for the following color layers, which will be applied based on the lights and shadows that we have defined.
Different tones: next, you must apply the different tones, in thin layers. You also have to make the appropriate scratches and color mixtures so that the painting has dimension, volume, depth, and shadows.
Tricks to paint an extraordinary picture
Finally, we give you a series of tips that you can follow if you want to give your painting a lot of personalities or simply want it to be magnificent:
With a short flat brush, you can give brushstrokes to highlight details, and with a longer one, you will provide uniformity.
Put the colors in the palette always in the same position, so that over time you will use them intuitively and paint more fluidly.
As the different layers of paint dry, you can do color tests until you find the right shades.
The first layers must be very diluted in turpentine, but the upper ones must be less so. In fact, in the last layer, you should apply the paint directly from the pot, without passing it through turpentine. Thus, the figures (which are the last thing to be painted) will be more solid, and the backgrounds will seem more liquid.
The layers can be erased with alcohol. But one at a time. If you mix two layers, using the alcohol when they are dry will remove both of them, since they will have become one layer.
Let the paint dry outdoors or in a well-ventilated and well-lit room. If the painting dries in the dark, an oily film may remain on top of the paint, giving the painting a yellowish, aged hue.